
Replit AI + Inliner.ai Integration
Set up Replit AI to automatically generate Inliner.ai image URLs when coding and building projects. Perfect for collaborative development and rapid prototyping.
Replit AI + Inliner.ai = Collaborative coding with professional images
This tutorial will show you how to configure Replit AI to automatically generate Inliner.ai image URLs when coding and building projects. By setting up custom instructions in your Replit environment, you'll enable seamless image generation for all your collaborative development work.
Prerequisites
- A Replit account (free tier available)
- An Inliner.ai account (free tier available)
- A project created in Inliner.ai (we'll use
ecommerce-demoas an example)
ecommerce-demo with your actual project namespace from Inliner.ai. Each project has a unique namespace that appears in your image URLs.
How to Set Up Replit AI with Inliner.ai
To get started, you'll need a Replit account. Go to Replit →
Step 1: Get Your Inliner.ai Project Instructions
First, you need to get the specific instructions for your Inliner.ai project. Here's how:
- Log into your Inliner.ai account
- Go to the Projects section
- Find your project and click the LLM Instructions button
- In the modal that opens, copy the instructions for your AI assistant
Step 2: Configure Replit AI with Custom Instructions
In Replit, you can provide custom instructions to the AI assistant. Here's how to set it up:
Method 1: Using Replit AI Chat
Start a new conversation with Replit AI and paste these instructions:
Replit AI Chat Instructions
IMPORTANT: For any images in the code you generate, use Inliner.ai URLs:

**Project Instructions:**
[PASTE YOUR INLINER.AI PROJECT INSTRUCTIONS HERE]

**When coding:**
- For UI images, use descriptive prompts like "modern web interface screenshot"
- For icons, use specific descriptions like "settings gear icon" or "user profile icon"
- For placeholders, use relevant descriptions like "blog post thumbnail" or "product showcase"
- For backgrounds, use contextual descriptions like "gradient background" or "hero section background"
- Always include appropriate alt text for accessibility

**Example Inliner.ai URL format:**
https://img.inliner.ai/your-project-name/your-image-description_style-modern_1200x600.webp

Generate code with professional-looking images that enhance the user experience.
Method 2: Using Project README
Create a README.md file in your Replit project with these instructions for persistent context:
README.md
# Project Name

## AI Development Guidelines

### Image Generation with Inliner.ai

When generating code that includes images, use Inliner.ai URLs with the following format:

```
https://img.inliner.ai/project-name/image-description_style-modern_WIDTHxHEIGHT.webp
```

**Project Instructions:**
[PASTE YOUR INLINER.AI PROJECT INSTRUCTIONS HERE]

**Image Guidelines:**
- Use descriptive names that match the image content
- Include dimensions appropriate for the use case
- Add meaningful alt text for accessibility
- Maintain consistent styling across the project

This ensures all generated images are professional and consistent with our project branding.your-project-name and project-name in the URLs above with your actual project namespace from Inliner.ai. You can copy the complete project-specific URL from the LLM Instructions modal in your Inliner.ai project dashboard - it includes integration-specific clipboard content ready to paste.
Step 3: Start Coding with Replit AI
Now you can ask Replit AI to generate code and it will automatically include Inliner.ai image URLs. Here are some example prompts:
Example Prompts for Replit AI
- Web App: "Create a React component for a photo gallery"
- Landing Page: "Build a hero section for a fitness app"
- Dashboard: "Generate a user profile card component"
- Game: "Create HTML/CSS for a simple card game interface"
- Portfolio: "Build a project showcase section"
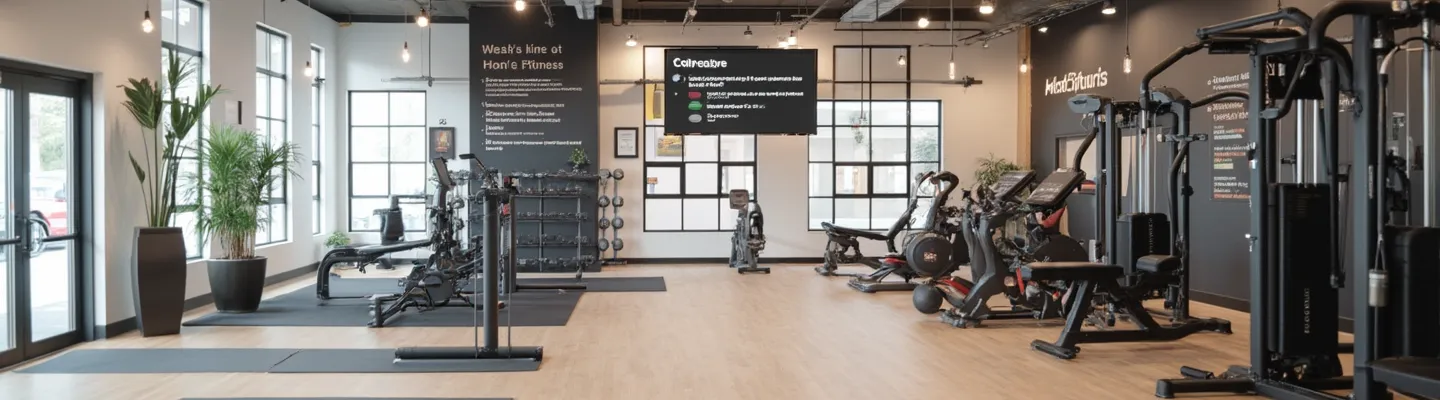
🎯 Real Example: Building a React Component
Let's see how Replit AI generates code with Inliner.ai images when building a React component:
ProductCard.jsx
import React from 'react';
import './ProductCard.css';

const ProductCard = ({ product }) => {
  return (
    <div className="product-card">
      <div className="product-image">
        <img
          src={product.image || "https://img.inliner.ai/ecommerce-demo/product-placeholder-modern-style_400x300.webp"}
          alt={product.name || "Product image showcasing item details and features"}
          className="product-img"
        />
        <div className="product-badge">
          <span className="badge-text">New</span>
        </div>
      </div>

      <div className="product-info">
        <h3 className="product-name">{product.name}</h3>
        <p className="product-description">{product.description}</p>
        <div className="product-price">
          <span className="price-current">${product.price}</span>
          {product.originalPrice && (
            <span className="price-original">${product.originalPrice}</span>
          )}
        </div>

        <div className="product-actions">
          <button className="btn-primary">Add to Cart</button>
          <button className="btn-secondary">
            <img
              src="https://img.inliner.ai/ecommerce-demo/heart-icon-outline_24x24.webp"
              alt="Add to favorites"
              className="icon"
            />
          </button>
        </div>
      </div>
    </div>
  );
};

export default ProductCard;
Generated Images Preview:
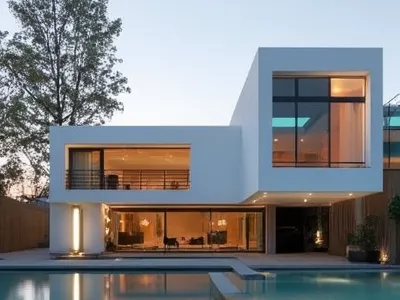
Images are automatically generated with appropriate dimensions and styling
🔧 Advanced Configuration
Using Replit's AI Features
Replit offers several AI-powered features that work well with Inliner.ai integration:
- AI Chat: Get real-time coding assistance with automatic image generation
- Code Generation: Generate entire components with proper image URLs
- Code Completion: Get suggestions for image URLs as you type
- Code Explanation: Understand how generated images fit into your code
Project-Specific Styling
You can customize the generated images to match your project's branding:
- Brand Colors: Set primary and secondary colors in your Inliner.ai project
- Style Guidelines: Define preferred visual styles (modern, retro, minimalist, etc.)
- Reference Images: Upload reference images to maintain consistency
- Aspect Ratios: Specify preferred dimensions for different components
Common Use Cases in Replit
Here are typical scenarios where Replit AI will automatically generate Inliner.ai images:
- Component Placeholders: Default images for React/Vue components
- UI Icons: Interface icons for buttons and navigation
- Hero Images: Main banner images for web applications
- Avatar Images: User profile pictures and avatars
- Background Images: Section backgrounds and decorative elements
- Game Assets: Sprites and graphics for web games
🎮 Example: Building a Game Interface
Here's how Replit AI generates a game interface with Inliner.ai images:
game-interface.html
<!DOCTYPE html>
<html lang="en">
<head>
    <meta charset="UTF-8">
    <meta name="viewport" content="width=device-width, initial-scale=1.0">
    <title>Space Adventure Game</title>
    <style>
        /* Game-specific styles */
        .game-container { width: 100%; max-width: 1200px; margin: 0 auto; }
        .game-header { display: flex; justify-content: space-between; align-items: center; padding: 1rem; background: #1a1a1a; color: white; }
        .game-area { position: relative; height: 600px; background: #000; overflow: hidden; }
        .control-btn { background: #333; border: none; padding: 0.5rem; border-radius: 4px; margin: 0 0.5rem; cursor: pointer; }
        .player-info { display: flex; align-items: center; gap: 1rem; }
        .player-avatar { width: 64px; height: 64px; border-radius: 50%; }
        .health-bar { display: flex; align-items: center; gap: 0.5rem; }
    </style>
</head>
<body>
    <div class="game-container">
        <div class="game-header">
            <div class="player-info">
                <img src="https://img.inliner.ai/space-game/player-avatar-astronaut_64x64.webp"
                     alt="Player avatar showing astronaut character" class="player-avatar">
                <div class="player-stats">
                    <div class="health-bar">
                        <img src="https://img.inliner.ai/space-game/health-heart-icon_24x24.webp"
                             alt="Health icon">
                        <span>100/100</span>
                    </div>
                    <div class="score">Score: 1250</div>
                </div>
            </div>

            <div class="game-controls">
                <button class="control-btn">
                    <img src="https://img.inliner.ai/space-game/pause-icon_32x32.webp"
                         alt="Pause game">
                </button>
                <button class="control-btn">
                    <img src="https://img.inliner.ai/space-game/settings-gear-icon_32x32.webp"
                         alt="Game settings">
                </button>
            </div>
        </div>

        <div class="game-area">
            <div class="game-background">
                <img src="https://img.inliner.ai/space-game/space-background-stars-nebula_1200x800.webp"
                     alt="Space background with stars and nebula" class="bg-image">
            </div>

            <div class="game-elements">
                <div class="spaceship">
                    <img src="https://img.inliner.ai/space-game/spaceship-player-modern_120x80.webp"
                         alt="Player spaceship">
                </div>
            </div>
        </div>
    </div>
</body>
</html>
Generated Game Assets:
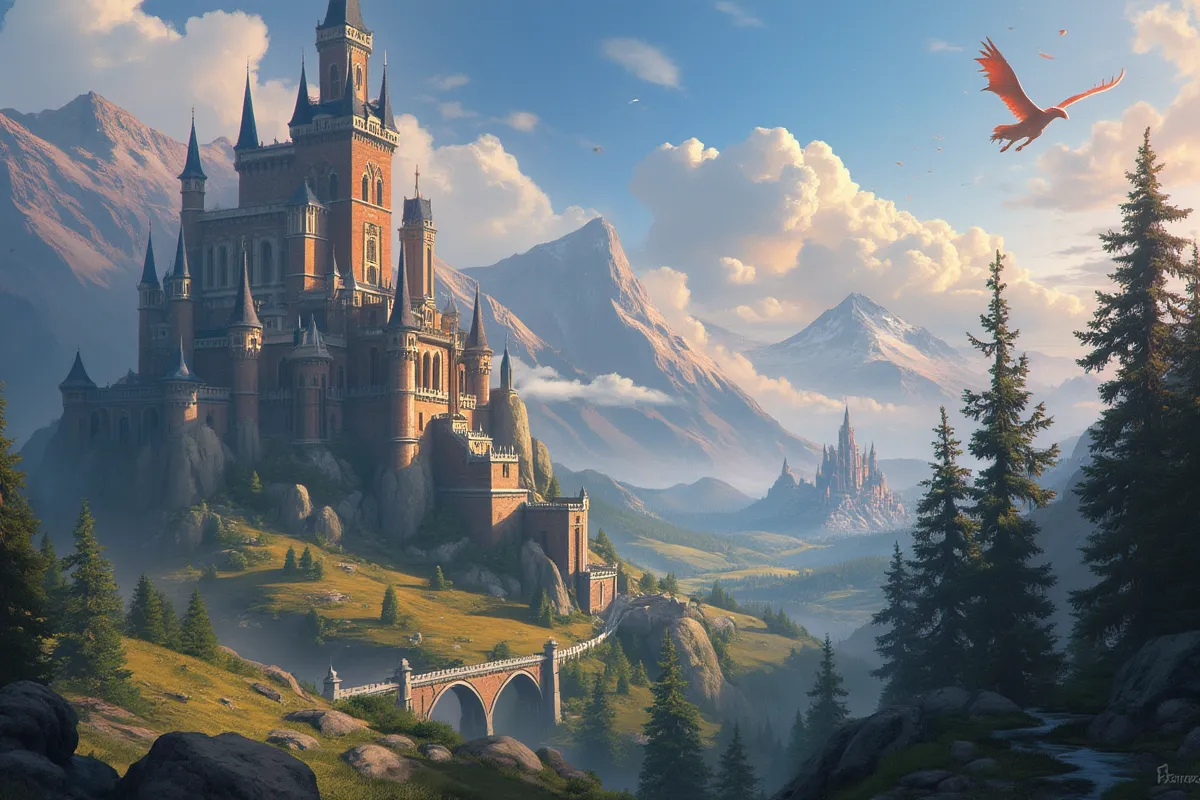
Game assets are automatically generated with consistent styling
💡 Best Practices for Replit
- Use Descriptive Comments: Add comments explaining image usage for better AI understanding
- Consistent Naming: Use consistent naming conventions for your project namespace
- Specify Dimensions: Always include appropriate width and height for components
- Test Responsiveness: Ensure images work well on different screen sizes
- Optimize for Performance: Use WebP format and appropriate dimensions
- Document Image Usage: Keep track of generated images in your project README
🐛 Troubleshooting
Common Issues and Solutions
- Images not generating: Check if your project instructions are properly formatted and accessible
- Inconsistent styling: Update your Inliner.ai project settings with brand guidelines
- Wrong image dimensions: Be more specific about size requirements in your prompts
- AI not following instructions: Repeat the instructions in your conversation or create a new chat
- Images not loading: Check your image URLs and ensure they're properly formatted
🎉 Next Steps
Now that you've set up Replit AI with Inliner.ai integration, you can:
- Build web applications with professional images
- Create games with custom assets
- Develop prototypes with realistic visual content
- Collaborate with team members using consistent imagery
- Explore advanced features like reference images and custom styling
Ready to supercharge your Replit development workflow? Start coding with AI-generated images today! 🚀